
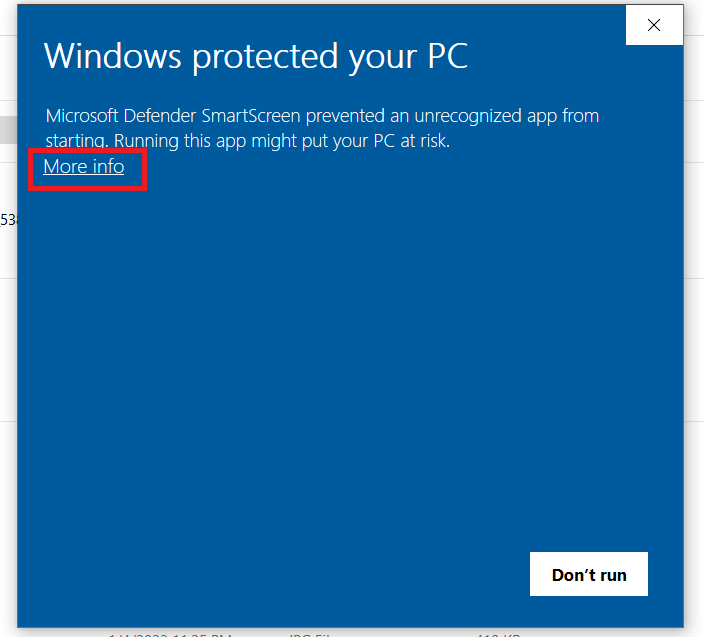
Step 1 : Run punchinsetup.exe and click on More info.
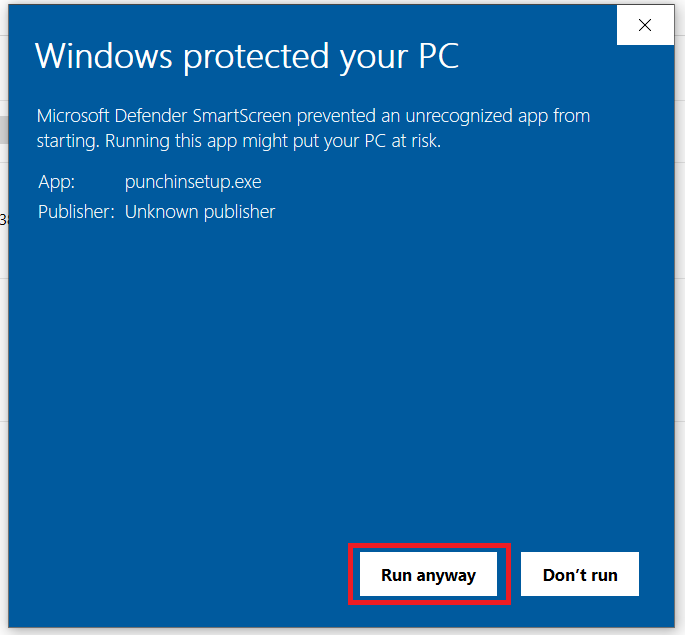
Step 2 : Click on Run anyway.
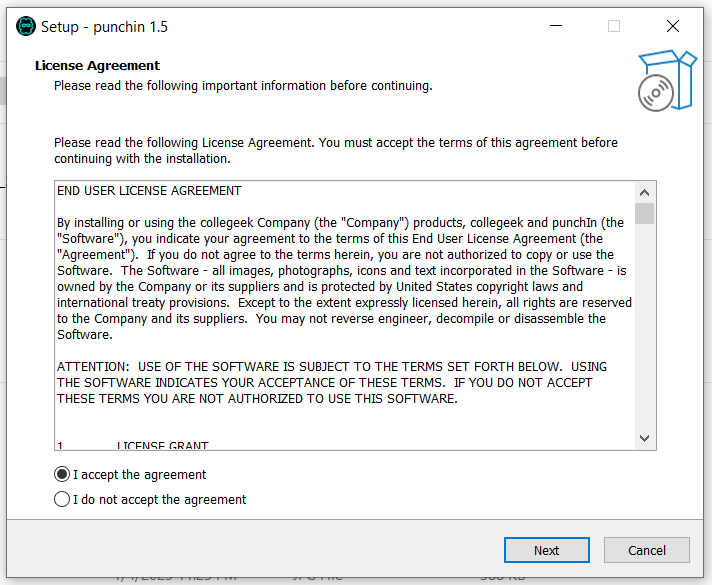
Step 3 : Select I accept the agreement and Click on Next.
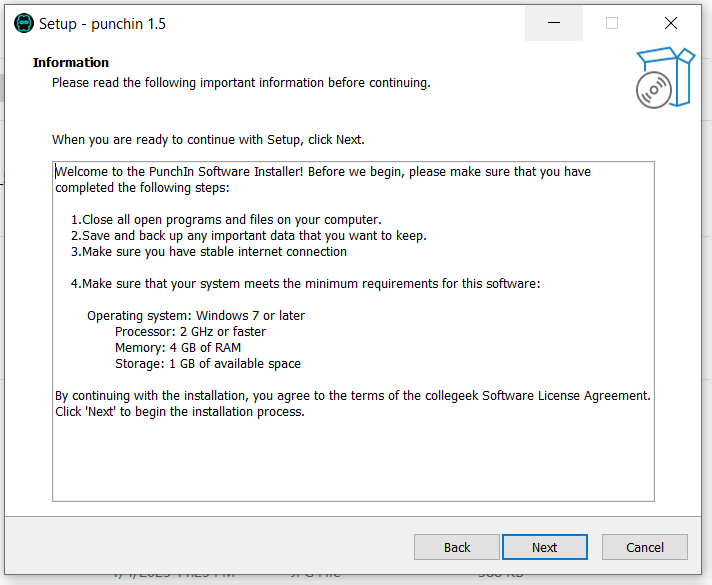
Step 4 : Click on Next.
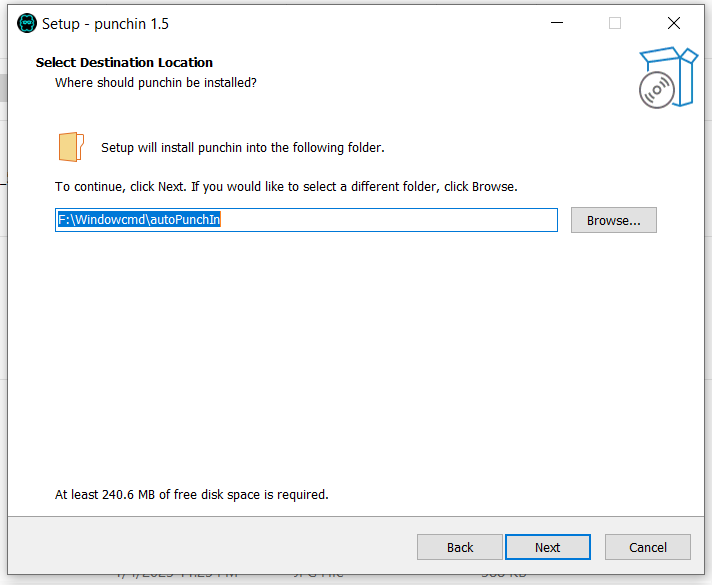
Step 5 : Select Destination location and Click on Next.
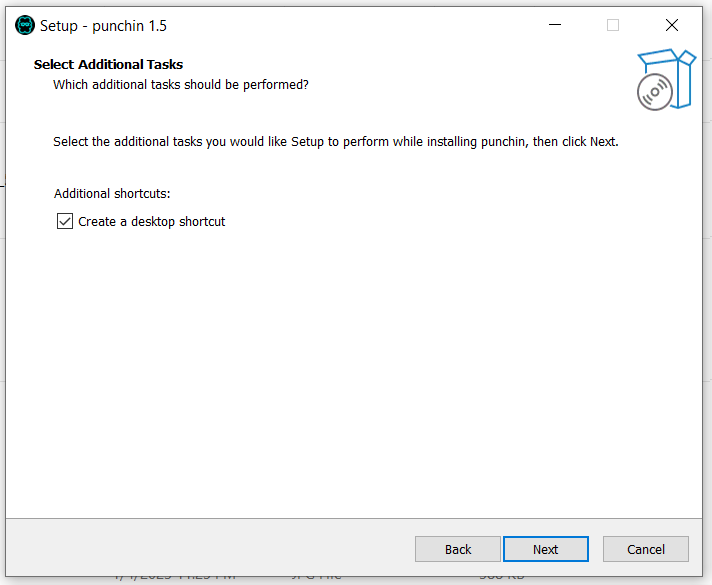
Step 6 : Select Create a desktop shortcut and Click on Next.
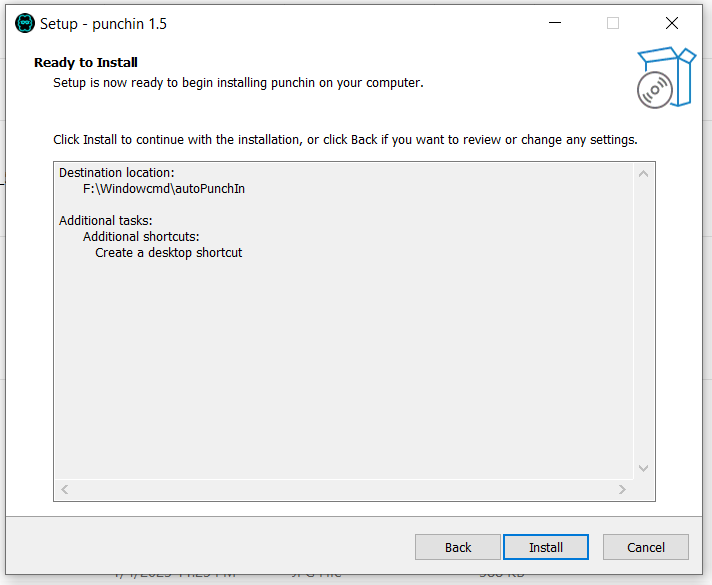
Step 7 : Click on Install.
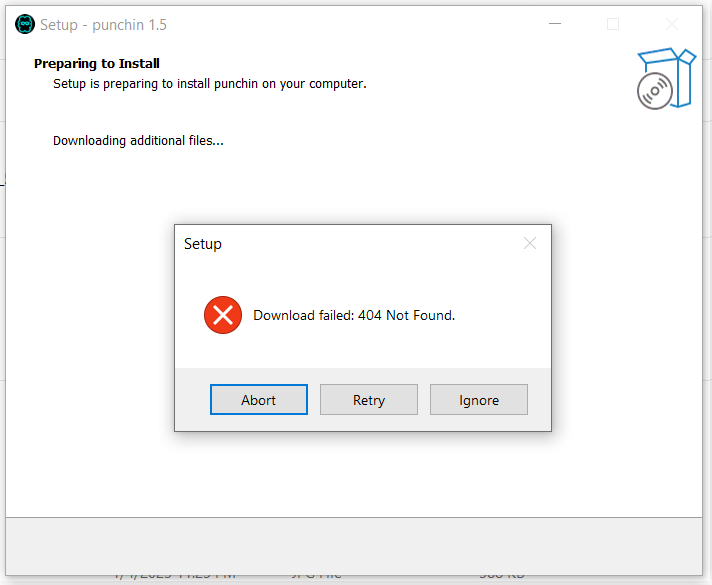
Step 8 : During installation process if you get this message then Click on Ignore.
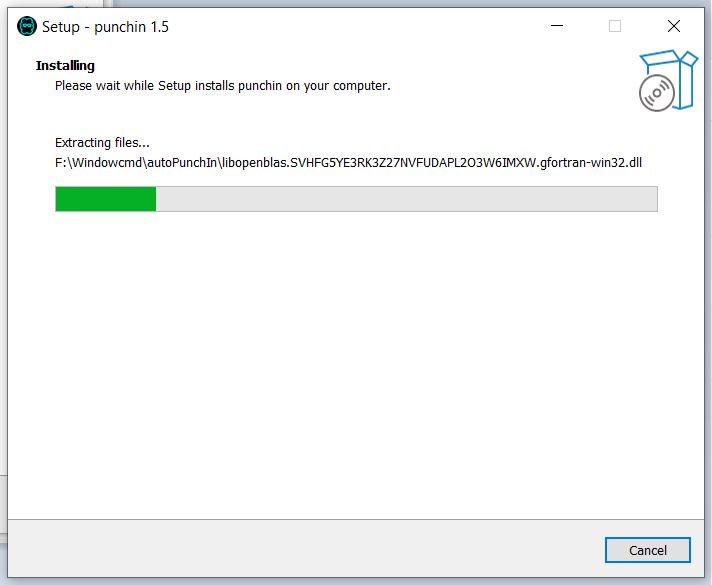
installation is in progress...
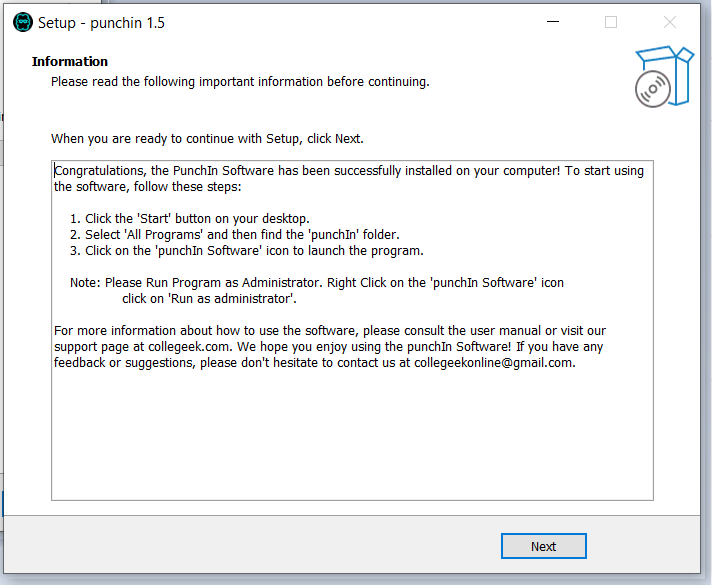
Step 10 : Click on Next.
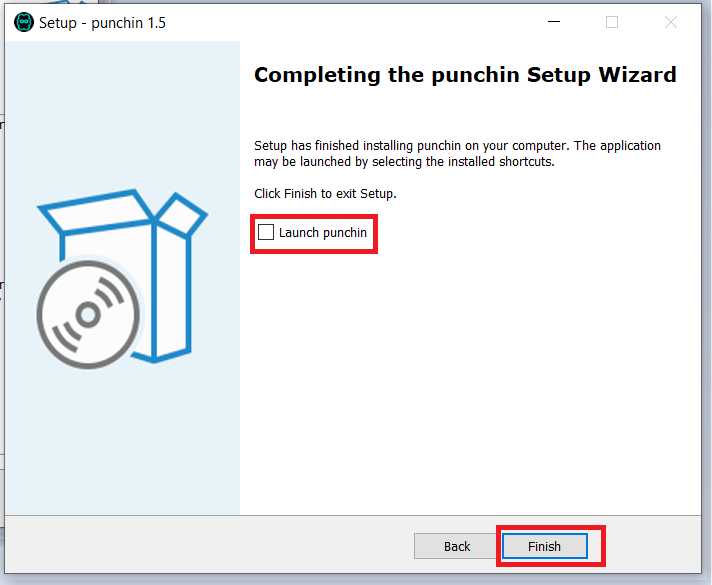
Step 11 : Uncheck Launch punchin and Click on Finish.
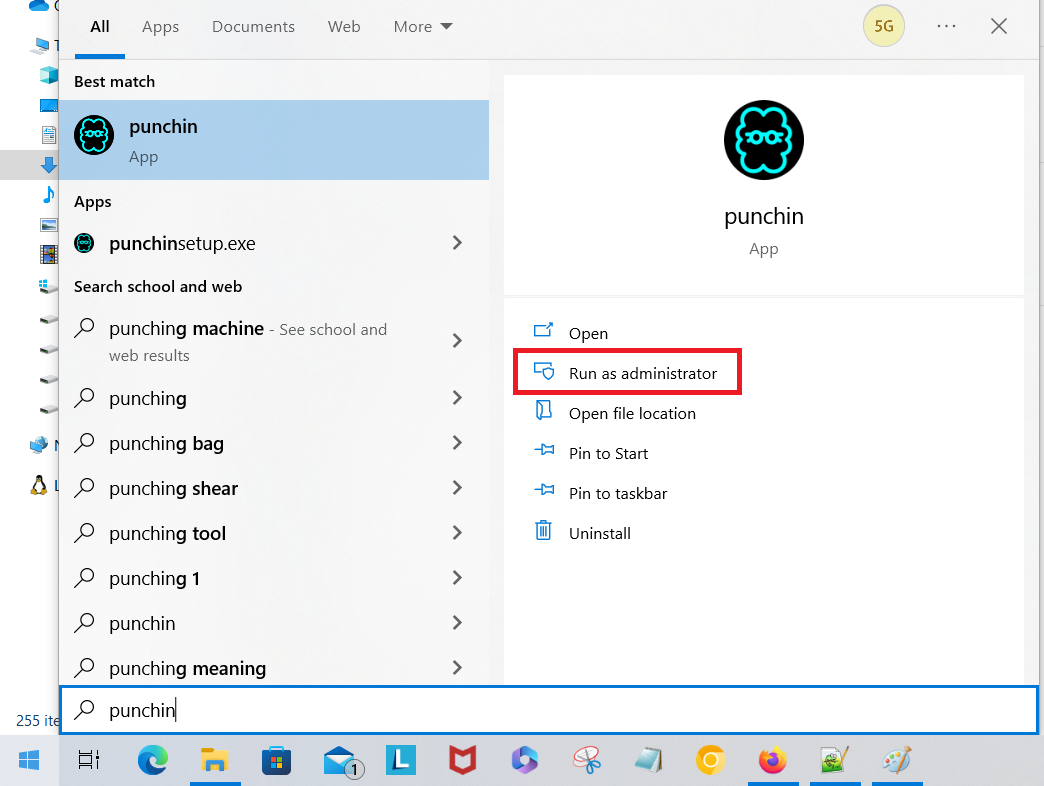
Step 12 : Use Windows search to search punchin app and Click on Run as administrator.
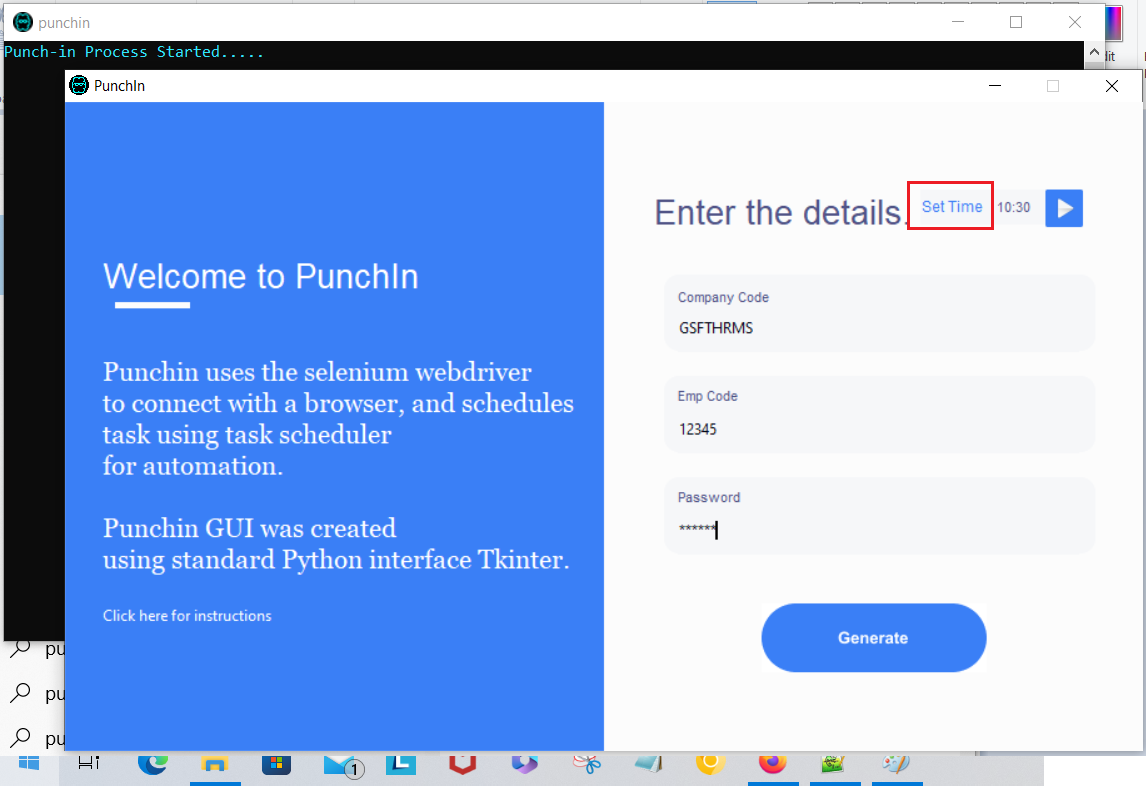
Step 13 :Enter the details, this details will be encrypted and saved on your PC. Click on Set Time to set specific time, when you want punchin to mark attendance.
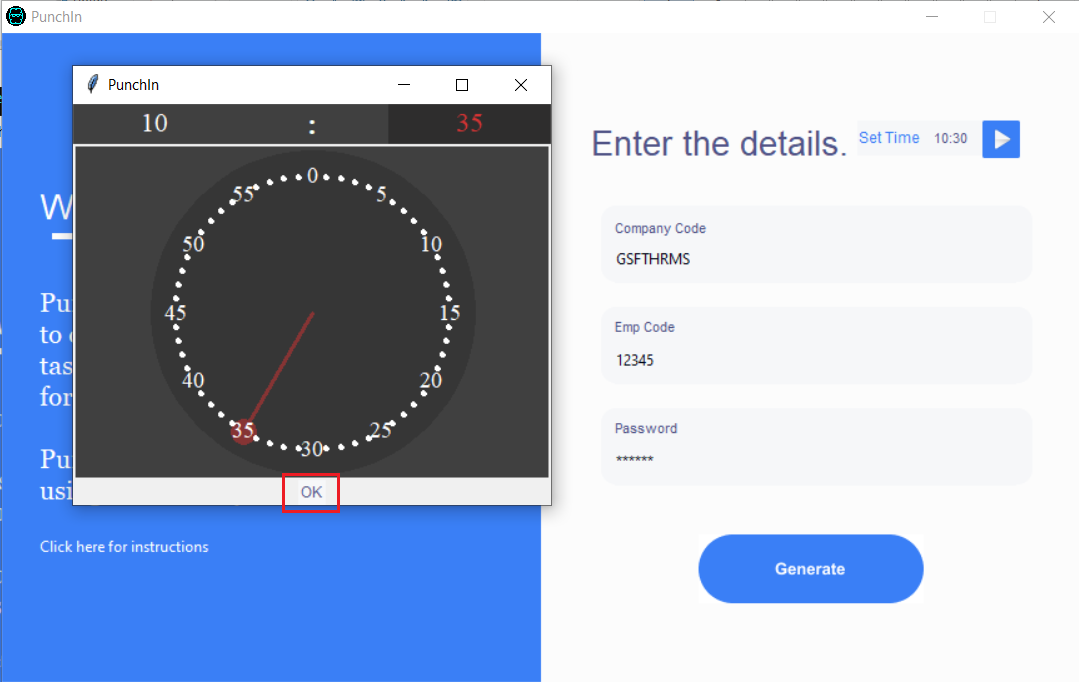
Step 14 : Set specific time then Click on Ok and Click on Generate. which schedules the attendance-marking process for selected time, MON to FRI.
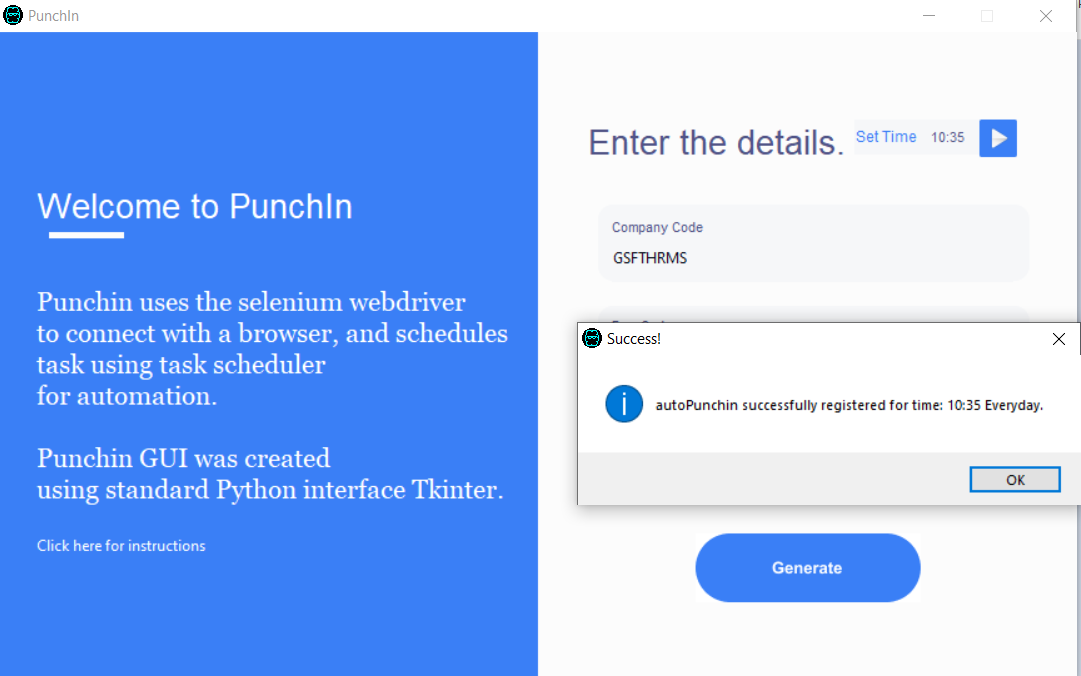
Step 15 : All setup!!. To test the setup click on blue button with arrow and allow punchin to access network.